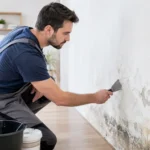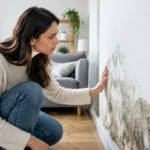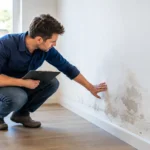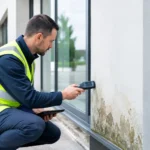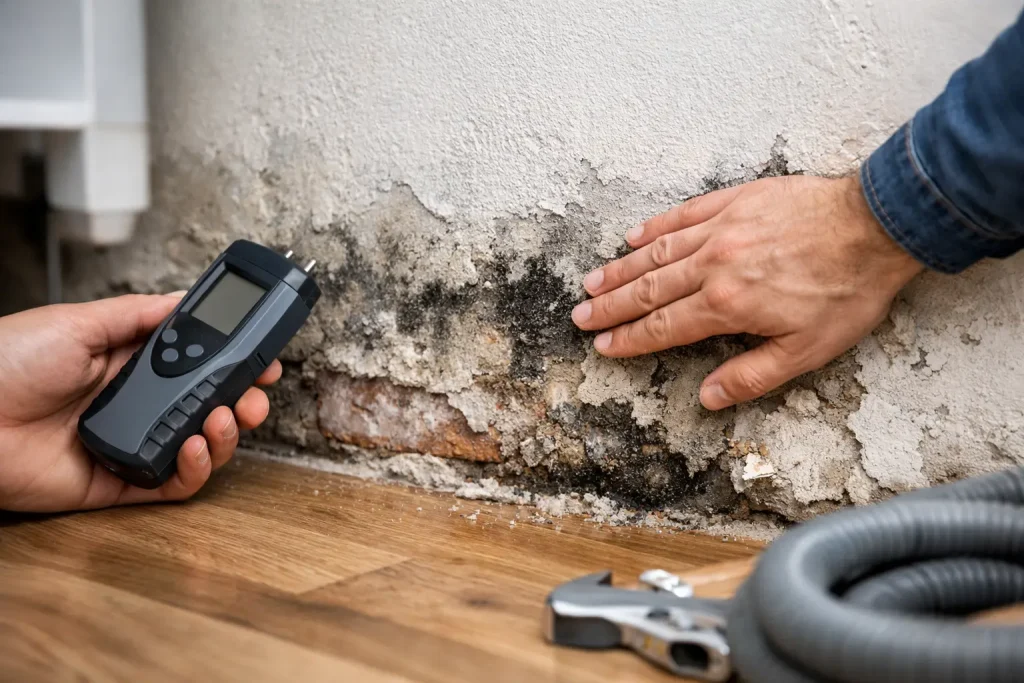
A damp patch that begins near the skirting board is rarely just a decorating problem. Ground floor wall dampness can damage plaster, lift paint, create stale odours and leave a room feeling cold even when the heating is on. The key is to identify where the water is coming from before spending money on cosmetic repairs.
A dehumidifier may make the air feel drier, but it cannot repair a leak or stop moisture being drawn into masonry from the ground. Treat the cause first. Then allow the wall time to dry properly.
What ground floor wall dampness can tell you
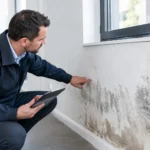
The position and pattern of the dampness matter. Moisture on an external wall at low level, often rising from the floor to around 1.5 metres, can point to rising damp. White, powdery salts, bubbling paint, crumbling plaster and rotten skirting boards are common warning signs.
However, not every damp ground floor wall is rising damp. A leaking pipe, damaged gutter, bridged damp-proof course, blocked air brick or condensation can produce similar symptoms. Guessing is costly, particularly when the wall is covered with new plaster or paint before the moisture source is controlled.
Start by looking at the whole area, not only the visible patch. Is the wall damp after heavy rain? Is there a water pipe, radiator valve or waste pipe nearby? Does the problem sit behind furniture in a poorly ventilated room? Does the damage begin at floor level and travel upwards? These details narrow down the cause.
Check the obvious sources first
Leaks and rain penetration
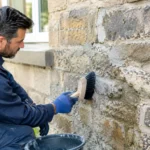
A localised damp patch with a clear edge often suggests a leak. Check plumbing connections, overflow pipes, shower seals and appliances on the other side of the wall. If the patch becomes worse after rainfall, inspect gutters, downpipes, roof coverings, external pointing and cracks around windows.
Outside ground levels also need attention. Soil, paving, decking or a driveway should not bridge the damp-proof course. If external ground has been raised too high, it can allow moisture to bypass the protective barrier and enter the wall fabric.
Condensation and poor ventilation
Condensation is created indoors when warm, moisture-heavy air meets a cold surface. It is usually most visible on windows, corners, behind wardrobes and in bathrooms, kitchens or bedrooms. Black mould is more typical of condensation than rising damp.
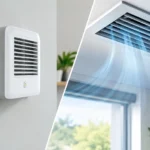
Improving extraction, heating the room evenly and leaving a gap behind large furniture can reduce this problem. A dehumidifier can help manage airborne moisture where condensation is the cause. But it is not a cure for water entering through the structure of the building.
Rising damp
Rising damp occurs when moisture from the ground travels through porous brickwork and mortar. Masonry behaves rather like a sponge: tiny spaces within the material can draw water upwards. As that moisture evaporates, it leaves behind salts that attack paint, plaster and finishes.
The affected area is normally concentrated on ground-floor walls. It may appear on internal dividing walls as well as external walls, because moisture can move through connected masonry. Cellars, semi-basements and elevated ground-floor rooms need particular care, as surrounding ground conditions and wall construction can vary.
Why surface fixes often fail
Painting over a damp wall may improve its appearance for a few weeks. Then the paint blisters again, salts return and plaster begins to break down. Damp-proof paint can also trap moisture in the wall if the source has not been addressed.
Likewise, a powerful dehumidifier can collect litres of water from the air while the wall remains damp at its base. It treats humidity in the room, not the mechanism allowing ground moisture to enter the masonry. This is why homeowners often find themselves emptying a tank every day without solving the recurring damage.
A proper plan separates the source of moisture from the drying process. First stop the moisture pathway. Then ventilate the space, maintain sensible heating and allow the building fabric to release retained water gradually. Old, saturated walls do not dry overnight.
A practical approach to ground floor wall dampness
Begin with a careful visual inspection inside and outside. Photograph stains, salt deposits and damaged finishes before cleaning them. Note whether the area changes after rain, after using a shower, or during colder months. This record can be valuable if a survey is needed.
Next, check external levels and drainage. Clear overflowing gutters and confirm that downpipes discharge properly. Look for paving or soil above the damp-proof course. Make sure air bricks are not blocked by leaves, paint, insulation or stored items.
If plumbing and rainwater issues are ruled out, and the pattern is low-level moisture damage consistent with rising damp, focus on controlling moisture movement through the wall. Avoid removing large areas of plaster until you understand the cause. Unnecessary stripping creates mess and expense, while leaving the original problem untouched.
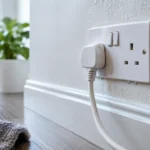
For confirmed rising damp, a source-led electronic treatment may be considered as a non-invasive option. GUARDIAN damp removal devices are designed to operate continuously from a standard electrical supply, with model choice based on the size and layout of the property. The aim is to address the electrical potential associated with moisture movement in masonry, rather than simply drying the surrounding air.
Placement matters. Like a Wi-Fi router, the device needs to be positioned for suitable coverage across the affected building area. A small family house and a large commercial property do not have the same requirements. Follow the model guidance carefully, keep the unit powered continuously and do not expect instant cosmetic change while the wall is drying.
Give walls time to dry
After the moisture source is controlled, drying time depends on wall thickness, construction, salt contamination, heating and ventilation. Thick stone walls, solid brickwork and heavily saturated plaster can take many months to dry fully. The visible damp mark may reduce slowly, not disappear in a straight line.
During this period, keep rooms ventilated and comfortably heated where possible. Do not press furniture tightly against affected walls. If plaster is badly contaminated with salts or has lost its strength, it may need repair once the wall has dried sufficiently. Repainting too early can lead to another failed finish.
Be cautious with moisture meters used on old walls. Salts can affect readings, making a wall appear wetter than it is. A single reading is less useful than observing changes over time alongside the building’s symptoms and known moisture sources.
When to bring in professional help
Some cases need further investigation. Seek qualified advice if you see structural cracking, persistent water flow, rotten floor timbers, a strong fungal smell, extensive mould, or dampness spreading rapidly. These can indicate issues beyond ordinary rising damp, including leaks, drainage failures or defects affecting the building fabric.
Landlords and property managers should act early. Damp rooms can lead to tenant complaints, damaged decorations and avoidable void periods. In commercial premises, recurring wall dampness can also affect stock, finishes and the comfort of staff or visitors. A planned diagnosis is far cheaper than repeated patch repairs.
The useful next step is simple: look at the height, pattern and timing of the dampness, rule out leaks and rainwater faults, and avoid covering the wall until you know why it is wet. Once the cause is controlled, the building can begin the slower but essential job of drying out.