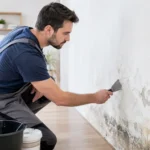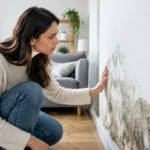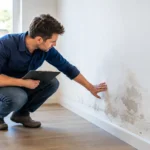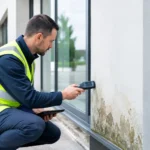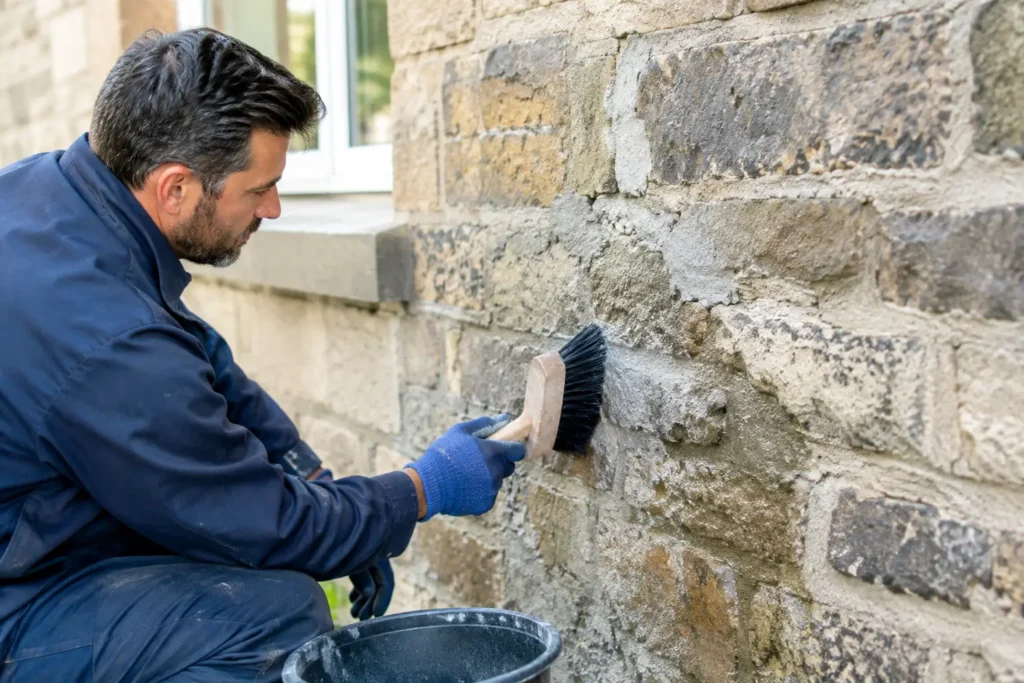
A wall that feels cold, smells musty and flakes beneath the paint is not ready for a quick coat of stain blocker. To understand how to restore damp masonry properly, first stop the moisture entering the wall. Repairing plaster before that point only hides the problem for a while – and often means paying for the same work twice.
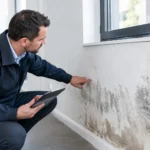
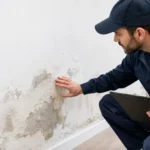
Rising damp commonly leaves its mark on ground-floor walls up to around 1.5 metres from floor level. You may see bubbling paint, white powdery salts, loose skirting boards or crumbling plaster. The right remedy depends on where the water is coming from, so diagnosis comes before decoration.
Confirm what is making the masonry damp
Not every damp wall has rising damp. A leaking gutter, cracked render, faulty pointing, bridged external ground levels or condensation can all create similar-looking stains. Treating the wrong cause wastes time and leaves the wall wet.
Start outside. Check gutters, downpipes and drains for leaks or overflows. Look for damaged brickwork, open mortar joints and soil, paving or decking built too high against the wall. External ground should not bridge the damp-proof course. If rainwater is striking one local area, or the patch becomes worse after heavy rain, penetration is more likely than rising damp.
Then look at the pattern indoors. Rising damp normally starts at the base of a ground-floor wall and travels upwards in a fairly even band. It can bring salts from the ground into the plaster and paint. Condensation is more likely on cold corners, around windows, behind furniture and in rooms with poor ventilation. A dehumidifier can help reduce airborne humidity and condensation, but it cannot stop water travelling up from the soil into masonry.
If the building has a cellar, suspended timber floor or recent alterations, inspect these areas too. Leaking pipes, blocked sub-floor vents and poor drainage may be contributing. More than one moisture issue can exist at the same time, particularly in older properties.
How to restore damp masonry at the source
Once rising damp is the confirmed issue, the priority is to stop the upward movement of ground moisture. Traditional approaches can involve extensive injections, replastering or excavation. These may be appropriate in some buildings, but they can be disruptive and their success depends on the wall construction, access and quality of installation.
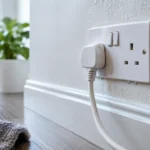
An electronic rising-damp system offers a non-invasive alternative. GUARDIAN damp removal devices are designed to address the electrical-potential difference that allows moisture to travel from the soil into the wall. In simple terms, the device changes the conditions that draw water upwards, allowing existing moisture to return down through the masonry under gravity.
Think of it less like extracting water from the air and more like turning off the tap feeding the wall. The wall will not become dry overnight, because the moisture already held in bricks and plaster must leave gradually. But once the source is controlled, proper drying and repair can begin.
Choose a unit for the building, not just the visibly affected room. The HOME model is intended for typical family houses, while PRO 15 and PRO 25 are suited to larger homes and commercial premises. Coverage works rather like a Wi-Fi router: placement matters, and a larger or unusually shaped building may need a model with greater reach or more than one device.
Fit the device centrally where practical, following its supplied installation guidance. It needs a continuous mains supply and should remain switched on. Do not place it in an area that will be routinely isolated at the consumer unit, and do not assume an extension lead is a permanent installation solution. A qualified electrician should deal with any electrical concern.
Give the wall time to dry
This is where many restoration jobs go wrong. A damp wall can take months to dry after the moisture source has been stopped. Thick solid walls, dense brick, stone construction, cold weather and heavy salt contamination all slow the process. Drying is not a race.
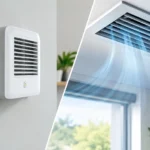
Keep rooms reasonably heated and ventilated. Open trickle vents where fitted and maintain sensible airflow around affected walls. Move large furniture a short distance away so air can circulate. A dehumidifier may be useful during the drying period if the room has high humidity, but use it as support rather than as the main cure for rising damp.
Avoid sealing the masonry behind impermeable paint or vinyl wallpaper while it is still drying. These finishes can trap moisture and make future assessment harder. If you need to improve appearance temporarily, choose a breathable finish only after checking that it is suitable for the substrate.
Do not rely on touch alone. A wall may feel less cold on the surface while moisture remains deeper within it. Watch for the damp tide mark stabilising or receding, fewer salt deposits and plaster becoming firm rather than powdery. For valuable, listed or heavily damaged buildings, moisture testing and advice from an experienced surveyor can help determine when repair is sensible.
Remove failed finishes, not sound structure
When the wall has had sufficient drying time, remove loose paint, blown plaster and friable mortar. Work carefully. Old plaster contaminated with hygroscopic salts can continue attracting moisture from the air even after rising damp has been controlled, so leaving heavily damaged material in place may cause staining to return.
Do not strip back good brickwork simply because the wall was once damp. The aim is to remove failed material and preserve sound masonry. Brush off loose salts with a dry, stiff brush and collect the debris. Avoid soaking the wall during cleaning.
If mortar joints are eroded, repoint them with a compatible mortar. On many older solid-wall properties, a lime-based mortar is more suitable than a hard cement-rich mix because it allows the wall to manage moisture more naturally. Matching the original construction matters. A very hard repair can damage softer historic bricks or force moisture into adjacent areas.
Where plaster must be renewed, choose a system appropriate to the wall and the level of residual salt contamination. A breathable renovation plaster or a suitable lime plaster is often preferable to dense gypsum plaster on older masonry, but there is no one-material answer for every property. Newer cavity walls, stone walls and listed buildings each need their own approach.
Refinish only when the surface is stable
Fresh plaster needs time to cure as well as dry. Once it is ready, use a breathable paint finish and follow the manufacturer’s drying times between coats. Avoid rushing to cover a repaired wall with wallpaper, especially non-breathable paper or vinyl coverings.
Before refitting skirting boards, make sure the timber is dry and free from decay. Replace timber that has softened, warped or developed fungal damage. Leave a small practical gap between furniture and external walls, particularly in rooms that have been closed up for long periods.
Keep checking the external drainage and ground levels after the cosmetic work is complete. A reliable rising-damp solution should be part of wider property care, not an excuse to ignore leaking gutters or poor ventilation.
A dry, stable wall is built in stages: identify the water path, stop it, allow the masonry to release what it holds, then repair the finishes. Patience at this point protects both the building fabric and the money you spend making it look good again.