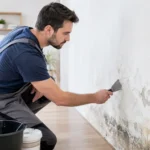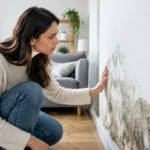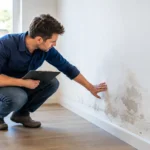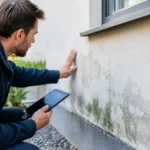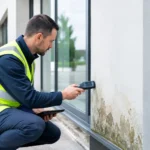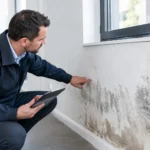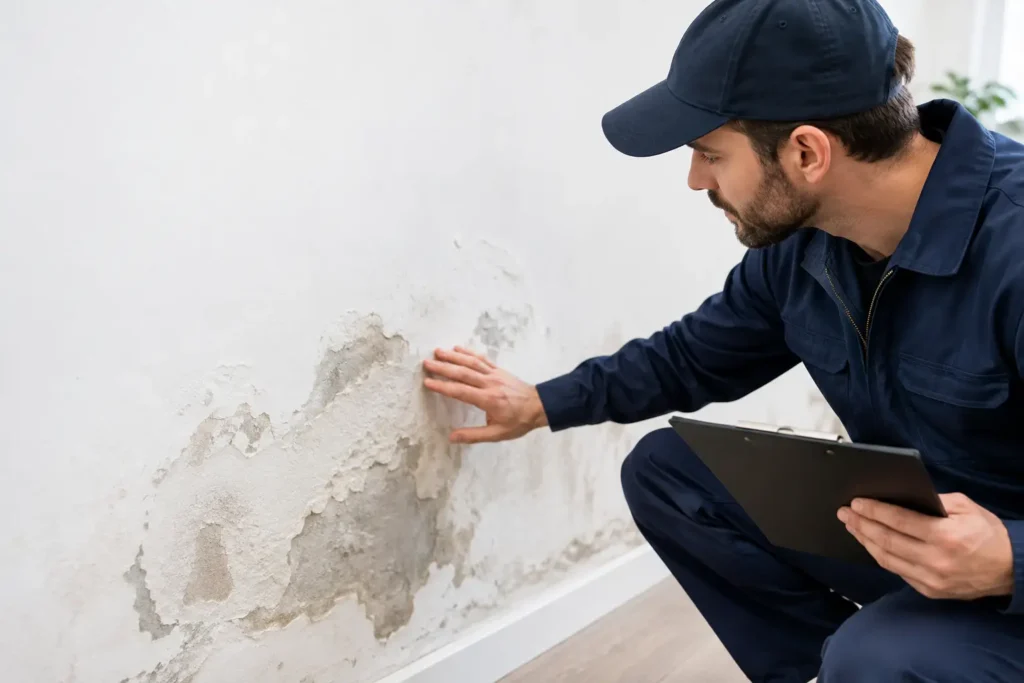
A patch of blistered paint near a skirting board is not a decorating problem. It is a warning that moisture may be working through the wall behind it. Successful damp plaster repair begins by stopping that moisture at its source. Fill and paint too soon, and the same staining, salts and crumbling finish can return.
Plaster does not fail for no reason. If a ground-floor wall is persistently wet, cold to the touch, marked with white salts or damaged up to around 1.5 metres above floor level, rising damp may be involved. The repair needs to be planned in the right order: diagnose, control the cause, allow the wall to dry, then renew damaged finishes.
Why damp plaster keeps breaking down
Masonry is full of tiny pores. When moisture is drawn up from the ground, it can travel through brickwork and mortar, carrying mineral salts with it. As moisture evaporates from the wall surface, these salts are left behind. They can force paint off, weaken plaster and create the familiar fluffy white deposits often seen above skirting level.
This is why a cosmetic repair rarely lasts. New plaster applied over a damp, salt-contaminated wall may initially look clean, but the moisture and salts beneath it remain active. The wall needs time and the correct conditions to dry before it can hold a sound finish.
Do not assume every damp patch is rising damp. Leaking gutters, damaged pointing, a bridged damp-proof course, burst pipes, condensation and poor ventilation can all produce damp plaster. A leak often creates a localised patch that worsens after rain or water use. Condensation is more common on colder surfaces and in rooms with heavy moisture production, such as kitchens and bathrooms. Rising damp usually starts low down and affects the base of a wall.
Damp plaster repair: the correct order of work
The biggest mistake is repairing the visible surface before dealing with the wall. Start outside and inside the property. Check that ground levels are not piled against external walls, rainwater goods are working, external render is not cracked, and there are no obvious plumbing leaks. If a wall is below ground or in a basement, it may require a different waterproofing approach altogether.
Where the evidence points to rising damp, the moisture movement must be addressed first. Air dehumidifiers can make a room feel drier and may help manage airborne humidity, but they do not stop moisture being drawn into masonry from the ground. They treat the air, not the route through the wall.
A source-control solution should operate continuously and suit the size of the building. GUARDIAN damp removal devices are designed to address the electrical-potential difference associated with rising damp, helping moisture in the wall return downwards through gravity rather than continuing upwards. The HOME model is intended for family houses, while PRO models are available for larger homes and commercial properties.
Once the source is under control, drying can begin. This is not instant. Thick masonry, dense plaster, poor airflow, weather conditions and the original level of saturation all affect drying time. A wall that has been damp for years will not become dry in a weekend simply because a new treatment has been fitted.
Remove plaster that has genuinely failed
Loose, hollow, soft or heavily salt-contaminated plaster should be removed. Protect floors, wear suitable gloves, eye protection and a dust mask, and take care around electrical fittings. If you are unsure whether a cable or pipe runs within the wall, stop and seek advice before cutting deeply into plaster.
Remove damaged material back to a firm, sound edge. In many rising-damp cases, the affected area extends above the visible stain because salts can travel higher than the damp line. There is no benefit in stripping a whole room if damage is confined to one section, but leaving degraded plaster behind simply creates a weak base for the repair.
Do not use gypsum finishing products on a wall that is still actively wet or heavily contaminated with salts. The right plaster system depends on the wall construction, its condition and how fully it has dried. A breathable repair specification is often appropriate, but this is not a licence to replaster immediately. Breathable materials help moisture vapour move through a wall; they cannot compensate for a continuing water source.
Let the wall dry before replastering
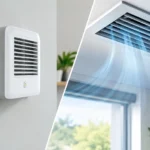
Drying is the patient part of damp plaster repair. Keep the room reasonably heated and ventilated. Open trickle vents where available, use extractor fans in wet rooms, and avoid pushing large furniture tight against the affected wall. Gentle airflow supports evaporation from the surface.
A dehumidifier can be useful at this stage if room humidity is high, particularly during colder months. It should be viewed as drying support, not as the cure for rising damp. Running one continuously against an untreated moisture source can become an expensive cycle of collecting water while the wall remains wet.
Avoid judging dryness by touch alone. The surface can feel dry while the masonry behind it still holds significant moisture. A competent damp professional can assess the wall condition and advise when it is ready for the chosen finish. For large areas, listed buildings, solid-wall properties or commercial premises, professional assessment is especially sensible before major replastering work begins.
Choosing materials for the final repair
Once the wall is dry enough and stable, use materials that suit the building. Older solid-wall homes often benefit from lime-based or other vapour-permeable systems. Modern cavity-wall construction may call for a different approach. The aim is not to trap residual moisture behind a dense, impermeable coating.
Use a suitable backing coat where needed, then finish with an appropriate breathable plaster or skim system recommended for the wall. Allow each coat to cure properly. Rushing this stage can cause shrinkage cracks and poor adhesion, even when the damp issue itself has been resolved.
For decoration, choose a vapour-permeable paint while the wall continues its final drying cycle. Avoid vinyl wallpaper, heavy-duty washable paints and other coatings that form a tight surface film too early. These can hold moisture and make future warning signs harder to see.
Skirting boards also deserve attention. Timber skirtings may have absorbed moisture or begun to decay at the back. Replace only where necessary, and fit them after the wall repair has cured. Leave a sensible gap from floor finishes where appropriate so cleaning water or minor spills are less likely to soak into the board.
When a quick patch is acceptable
A small paint blister caused by a one-off spill, a repaired plumbing leak or brief condensation may only need local filling and repainting once the area has fully dried. That is very different from repeated low-level damage, salts, fungal odours and crumbling plaster on an external ground-floor wall.
If the same area fails again after redecorating, treat that as useful evidence. The wall is telling you the cause has not been resolved. Repeated patching can hide the problem for a while, but it also wastes money and delays a proper repair.
For landlords and property managers, early action protects more than appearance. Persistent damp can damage finishes, increase maintenance calls and make rooms harder to keep comfortable. For homeowners, it preserves the fabric of the property and avoids turning a manageable issue into a larger renovation.
A sound wall finish comes last, not first. Control the moisture, give the masonry time to dry, then repair the plaster with materials that allow the wall to settle back into a dry, stable condition.