A damp wall is not fixed because it looks dry for a week. If the cause remains, staining, salts, mould and damaged plaster usually return. Effective damp remediation planning starts by identifying where the moisture is coming from, then choosing a remedy that deals with that source rather than repeatedly treating the visible damage.
For homeowners, landlords and property managers, this matters because rising damp can continue quietly behind furniture, skirting boards and redecorated walls. The earlier you plan properly, the less likely you are to face repeated repairs, unpleasant odours and rooms that never feel warm or comfortable.
Start Damp Remediation Planning With the Right Diagnosis
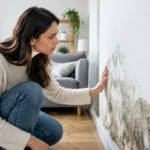
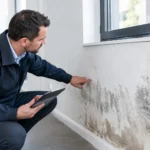
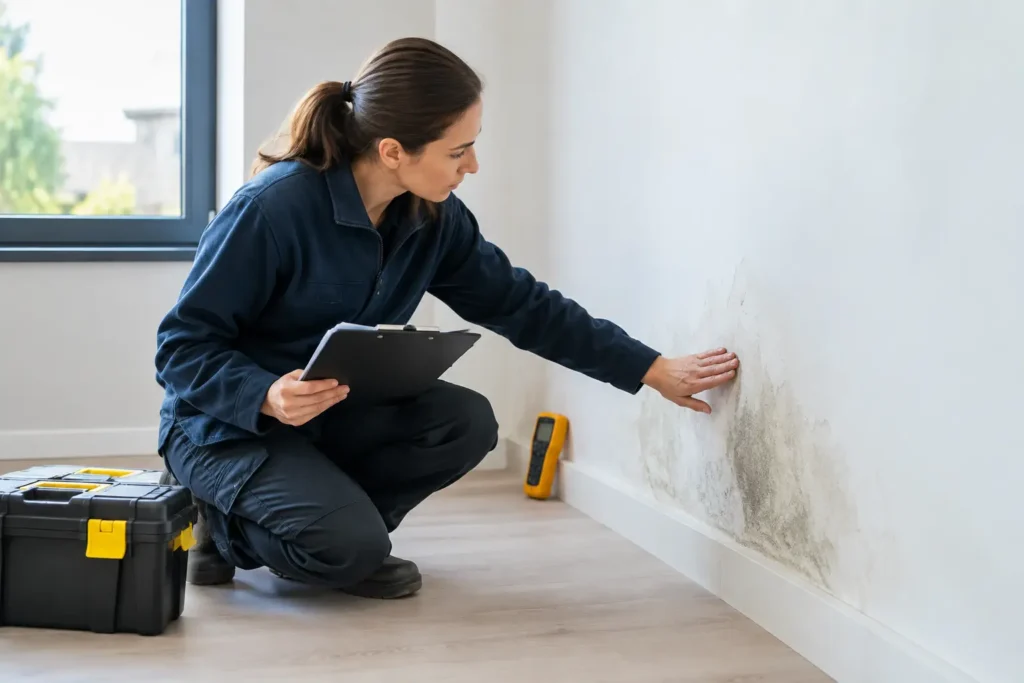
Rising damp is moisture travelling up through masonry from the ground. It is commonly seen on ground-floor or basement walls, usually up to around 1.5 metres high. Typical signs include tide marks, white salt deposits, bubbling paint, crumbling plaster, cold lower walls and a musty smell.
Do not assume every damp patch is rising damp. A leaking gutter, damaged roof, failed pointing, plumbing leak or poor ventilation can also leave walls wet. These problems need their own repair. Installing a rising-damp solution without stopping an active leak will not solve the leak.
Look for the pattern. Rising damp normally begins at the base of a wall and rises gradually. Condensation, by comparison, often appears on colder surfaces, around windows, in corners and behind large furniture where air cannot circulate. Penetrating damp is more likely to worsen after rain and may appear higher on an external wall.
Air dehumidifiers can reduce moisture in the air, which may help with condensation. They do not stop ground moisture moving into brickwork. Think of it like mopping a floor while a tap is still running. The room may feel better temporarily, but the source has not been addressed.
Inspect the Building Before Choosing a Remedy
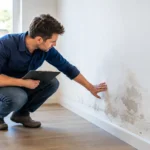
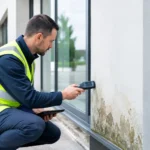
A clear inspection prevents wasted time and money. Walk around the outside of the property first. Check gutters, downpipes, air bricks, drains and ground levels. Soil, paving or decking should not bridge the damp-proof course or sit too high against external walls.
Inside, inspect the lowest metre or so of affected walls. Take note of whether the problem is confined to one room, follows an external wall, or appears across several connected ground-floor spaces. Photograph damage before work begins. This gives you a useful record as the walls dry and helps distinguish old staining from new moisture.
Also consider the building layout. Thick internal walls, extensions, basements, large open commercial areas and separate wings can affect the coverage needed. Damp remediation is not only about the wall with the worst stain. It is about treating the area in which rising damp is occurring.
If you find damaged gutters, leaking pipework or cracks allowing rainwater in, repair these first. Good planning often uses more than one action, but each action must match the cause.
Set a Practical Drying Plan
Once rising damp has been identified, plan for a drying period. Masonry does not dry overnight. A wall that has held moisture for years needs time to release it after the upward movement of moisture has been stopped.
Keep rooms normally heated and ventilated. Avoid forcing the process with excessive heat, which can make surface finishes fail before the wall has dried through. A dehumidifier may be used to manage airborne humidity where needed, but it should not be mistaken for the remedy for rising damp itself.
Do not rush to replaster or repaint. Early decorating can trap moisture and salts beneath the surface, leading to peeling paint and fresh marks. Wait until the wall is genuinely drying and stable. In heavily affected areas, old salt-contaminated plaster may still need removing after the moisture source is controlled.
Furniture should be pulled slightly away from damp walls so air can move around it. Check skirting boards, floor edges and stored items too. Damp damage is often greater behind a sofa or cupboard than it first appears.
Choose Coverage, Not Just a Device
Electronic rising-damp control is planned around the size and shape of the building. The principle is simple: placement and coverage matter in the same way they do for a Wi-Fi router. A unit placed in the right central position can serve the intended area effectively, while poor positioning can reduce its useful reach.
For a typical family house, a home-scale unit may be suitable. Larger residential buildings, commercial premises or properties with extensive ground-floor areas may require a higher-coverage model or more than one device. Measure the building and account for wall thickness, separate sections and the distance to the furthest affected walls.
GUARDIAN damp removal devices are designed for continuous operation with low power use, addressing the electrical-potential difference associated with moisture travelling from soil into masonry. This gives property owners a non-invasive option, without chemical injection, disruptive excavation or constant emptying of water containers.
The right model depends on the property, not just the severity of one patch. A small visible damp area in a large building may still need wider coverage because the moisture pathway can extend beyond the marked wall.
Position the unit carefully
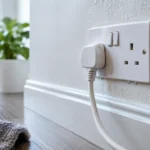
Install the device in a central location for the area it is intended to protect. Choose a secure internal wall and keep to the manufacturer’s height, mounting and electrical instructions. A permanent mains socket is required, so avoid a position that depends on a loose extension lead or can be switched off accidentally.
Keep the unit powered continuously. Rising damp prevention is not a treatment you turn on only when a stain appears. Continuous operation gives the building ongoing protection and supports the gradual drying process.
For larger or irregular properties, plan device positions before installation. Long buildings, multiple connected sections and thick masonry may need separate coverage zones. This is especially relevant for landlords managing converted properties and facilities teams responsible for commercial premises.
Protect the Building While It Dries
A successful plan includes sensible maintenance after installation. Keep gutters clear, repair external defects promptly and make sure air bricks are not blocked by soil, leaves or stored items. These measures do not replace rising-damp control, but they prevent other moisture problems from confusing the picture.
Monitor the affected walls monthly rather than daily. Look for a gradual reduction in damp feel, new staining and surface deterioration. Old tide marks and salts may remain visible even when the wall is drying, so visual appearance alone is not always the best measure in the first weeks.
If mould is present, clean it safely and address the conditions allowing it to grow. Use suitable protective equipment and avoid dry brushing mould spores into the room. Where finishes are badly degraded, wait for the drying process before carrying out permanent cosmetic repairs.
Landlords and property managers should keep a simple record of installation date, affected areas, photographs and follow-up inspections. This makes it easier to demonstrate that the issue is being managed methodically and to spot a separate leak or ventilation problem if one develops later.
Avoid the Most Common Mistakes
The biggest mistake is treating every damp wall as condensation. The second is expecting a fast cosmetic fix from a wall that has been wet for a long time. Repainting too soon, repeatedly running a dehumidifier without diagnosing the source, and placing a coverage device at the edge of a large property can all delay results.
Another mistake is switching off the solution to save a small amount of electricity. Continuous low-energy operation is part of the plan. A property needs consistent protection, especially through wetter months when ground conditions can add pressure to vulnerable masonry.
Damp remediation planning works best when it is calm and methodical: identify the moisture source, repair any separate defects, select suitable coverage, install correctly and allow the building time to dry. That approach gives your walls the chance to recover properly, rather than simply looking better for a short while.