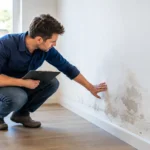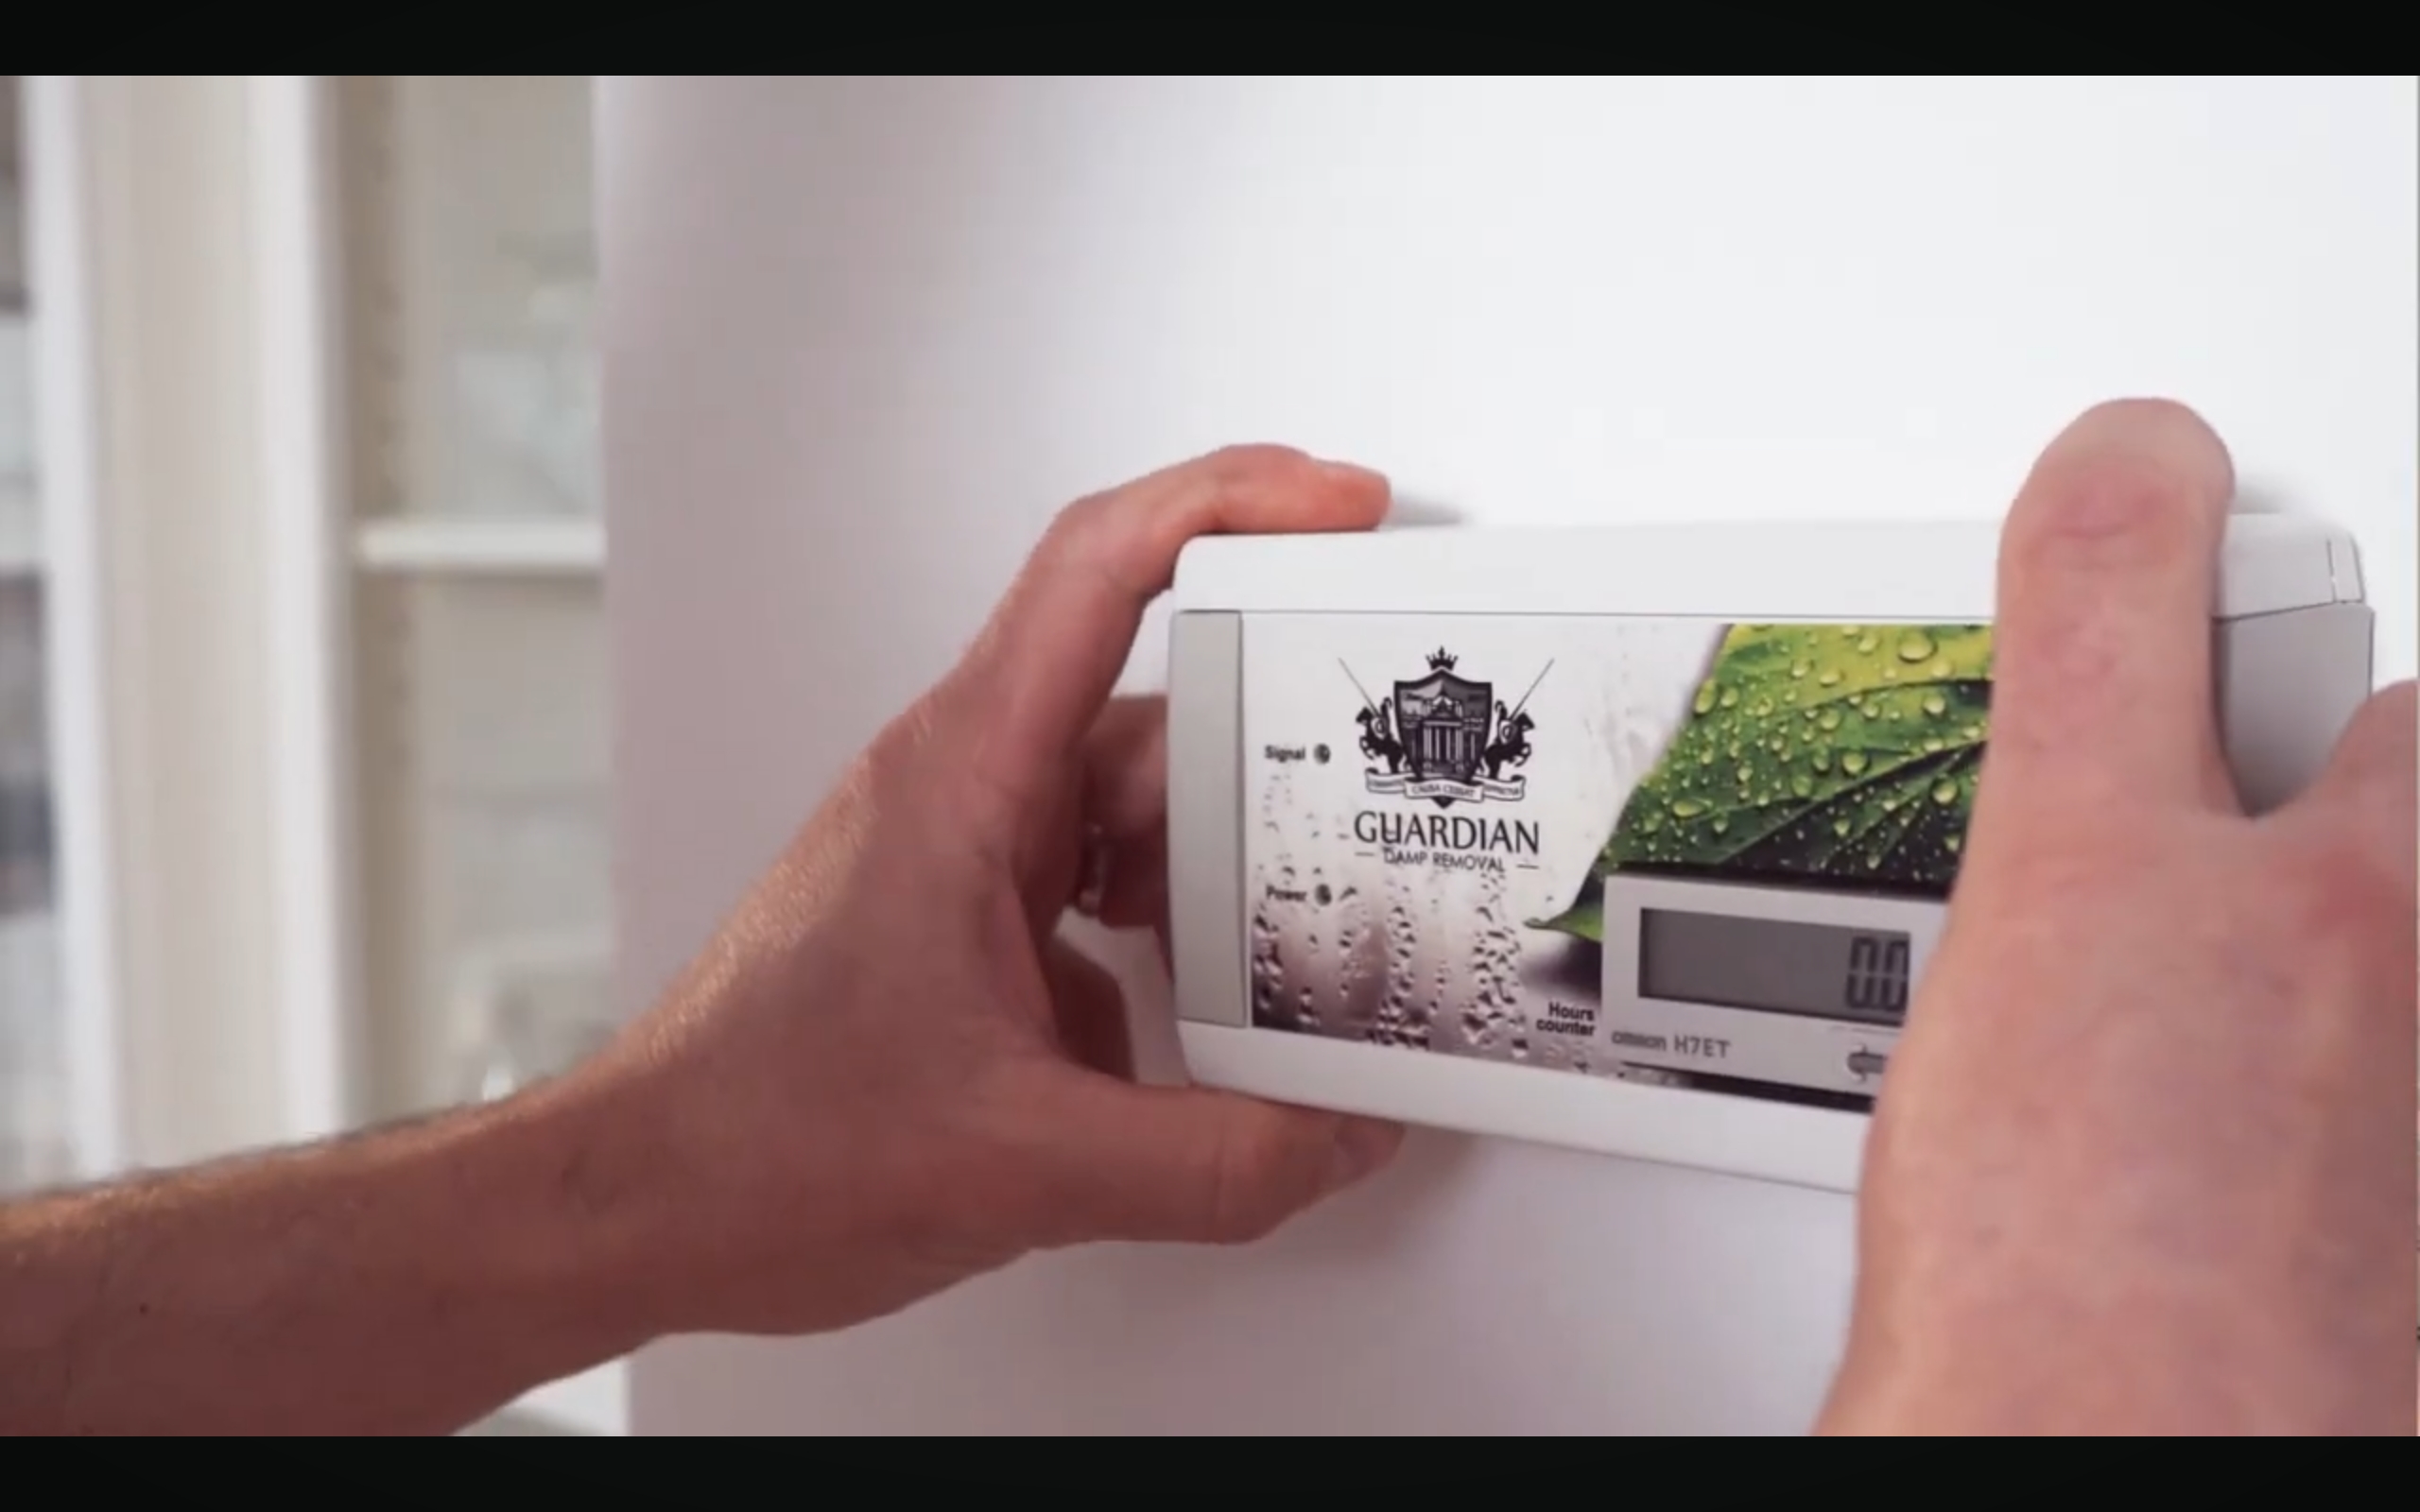
A damp wall can look worst in one corner, but the answer is rarely to place a device directly beside that patch. Effective electronic damp device placement is about protecting the whole area affected by rising damp, not chasing the most visible stain. Put the device in the right location and it can work across the building as intended. Put it in the wrong place and walls at the far end may receive less effective coverage.
Why placement matters with rising damp
Rising damp begins below floor level. Moisture from the ground is drawn into masonry and can travel upwards, often leaving salt deposits, peeling paint, cold walls and damaged plaster up to around 1.5 metres high. It is not the same as condensation caused by everyday moisture in the air.
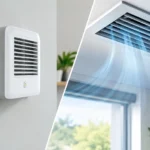
An air dehumidifier removes moisture from the room air. That may make a room feel drier, but it does not stop ground moisture entering the wall. An electronic damp removal device is designed to address the electrical-potential difference that allows moisture to travel through masonry. Once this process is corrected, moisture already held in the wall can gradually return downwards through gravity and the building can dry naturally.
Think of coverage like a Wi-Fi router. The router does not need to sit beside every phone, but it does need a sensible, central position with a clear area to serve. The same principle applies here. The device needs to be located to give the required coverage radius across the affected part of the property.
Electronic damp device placement for best coverage
The best position is normally as central as possible within the building area that needs protection. For a typical family house, this is often a ground-floor room near the middle of the property. It may be a hall, lounge, kitchen or another suitable central space with a permanent mains socket.
Avoid choosing a position solely because that room has the worst peeling paint. Visible damage is evidence of the problem, not necessarily the centre of it. A device installed at one end of a long house may leave rooms at the other end close to the edge of its stated coverage radius.
Placement should also reflect the building footprint, not just the room layout. A compact, square house is easier to cover from a central point than a long terrace, an L-shaped property or a building with later extensions. In those cases, measure the likely distance from the proposed device position to the furthest affected walls. If one device cannot cover the complete area, a larger model or more than one unit may be the practical answer.
For elevated ground-floor flats, the same rule applies. Position the device centrally within the flat or the part of the building affected by rising damp, while ensuring its coverage reaches the external and internal walls showing the symptoms.
Keep the device accessible and powered
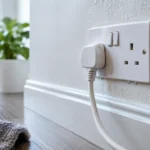
Choose a location with a reliable electrical socket. The device is designed to operate continuously, so it should not be plugged into a socket that is regularly switched off, used only occasionally, or needed for a high-demand appliance.
Do not hide it behind heavy furniture, box it in, cover it with fabrics or place it where it could be knocked, splashed or exposed to excessive heat. Accessibility matters too. You should be able to see that it is connected and check the unit without moving a bookcase or emptying a cupboard.
A wall-mounted location is often tidy and practical where suitable, but follow the supplied installation instructions for the specific model. Keep cable routing safe and neat. Do not run a lead where it creates a trip hazard, can be trapped under a door, or may be damaged by furniture.
Do not treat the cellar as an automatic choice
A basement or cellar can be the right location if it sits centrally beneath the affected building area and has a suitable power supply. However, it is not automatically the best place simply because it is below ground.
The deciding factor is coverage. If the cellar is offset to one side, damp walls on the opposite side of the property may be too far away. Equally, a damp lower-ground room may have separate causes such as poor drainage, leaking pipework or water pressure against below-ground walls. These issues need attention alongside any rising damp treatment.
Choose the model before choosing the socket
It is tempting to find an empty socket first and select a device afterwards. Reverse that process. Start with the size and shape of the area that needs protection, then select the correct model and identify the best central point within its coverage radius.
GUARDIAN HOME is intended for family houses, while PRO 15 and PRO 25 are designed for larger residential and commercial premises. Larger buildings, converted properties, long corridors and premises with multiple wings need more careful planning. One centrally located device may be sufficient, but only where its stated coverage reaches the full affected footprint.
For landlords and facilities managers, it helps to sketch a simple floor plan. Mark the external walls, the rooms with damage, the proposed device position and the most distant points. This quickly shows whether the installation is balanced or whether one section of the building sits beyond sensible coverage.
Check that it is really rising damp
Correct placement cannot solve the wrong moisture problem. Before installing any electronic damp removal device, look at the pattern of damage and rule out obvious defects.
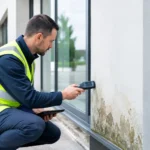
Rising damp commonly starts at low level and moves upwards, with salts, crumbling plaster or a tide-mark effect. Condensation is more likely around windows, in corners, behind furniture and in rooms with poor ventilation. Penetrating damp often becomes worse after rain and may appear higher on a wall, close to gutters, roofs, damaged pointing or external ground levels.
Leaks, broken gutters, bridging of an existing damp-proof course and faulty plumbing should be repaired. If external soil, paving or decking sits too high against the wall, that also needs correcting. An electronic device is intended for rising damp, not as a substitute for basic building maintenance.
What to expect after installation
The device starts working when it is connected, but a wet wall does not become dry overnight. Masonry, plaster and salts need time to release stored moisture. Drying expectations depend on wall thickness, construction, the level of saturation, heating, ventilation and whether damaged plaster has trapped salts.
Keep the device powered continuously during the drying period and afterwards. Turning it off repeatedly defeats the purpose of continuous protection. Normal ventilation and gentle, consistent heating will support drying, but blasting a room with heat or relying on a dehumidifier alone does not address the source of rising damp.
You may first notice that musty odours reduce and walls no longer feel as cold. Decorative repairs should wait until the wall has had time to dry properly. Painting over damp plaster too soon can lead to fresh staining, bubbling paint and unnecessary expense. Where salts have heavily damaged the finish, replastering may still be needed once the moisture source has been dealt with.
Common placement mistakes to avoid
The most common mistake is installing the device at the furthest end of the property because that is where a convenient socket happens to be. Another is placing it in a cupboard or behind a large unit, where it is forgotten and difficult to inspect. Some owners also unplug the device when leaving for a weekend or holiday, then wonder why protection is inconsistent.
For commercial premises, avoid treating each visible patch as a separate issue without considering the full footprint. A shop, office, care setting or converted building may need a PRO model or a planned multi-device layout. Coverage should be based on the building, not on guesswork.
The right position is simple: central, safe, permanently powered and selected around the correct coverage radius. Once the device is in place, give the walls time to respond. Persistent damp damage has built up over months or years, and a proper drying period gives your property the best chance to recover.