A damp patch that keeps returning after repainting is not a decorating problem. It is a warning that moisture may be moving through the building fabric. This rising damp inspection checklist helps you check the visible signs, rule out common lookalikes and decide what needs attention before walls, plaster and timber suffer further damage.
Do not rely on one symptom alone. Damp is often blamed on rising damp when the real cause is condensation, a leaking gutter, bridged ground levels or a plumbing fault. A proper inspection looks at the wall, the room and the outside of the property together.
Rising Damp Inspection Checklist: Start at the Bottom
Rising damp begins where a wall meets the ground. Moisture from soil can travel upward through porous brickwork, mortar and plaster. The strongest clues are normally found low down, rather than around windows, ceilings or the middle of an internal partition.
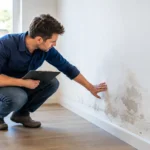
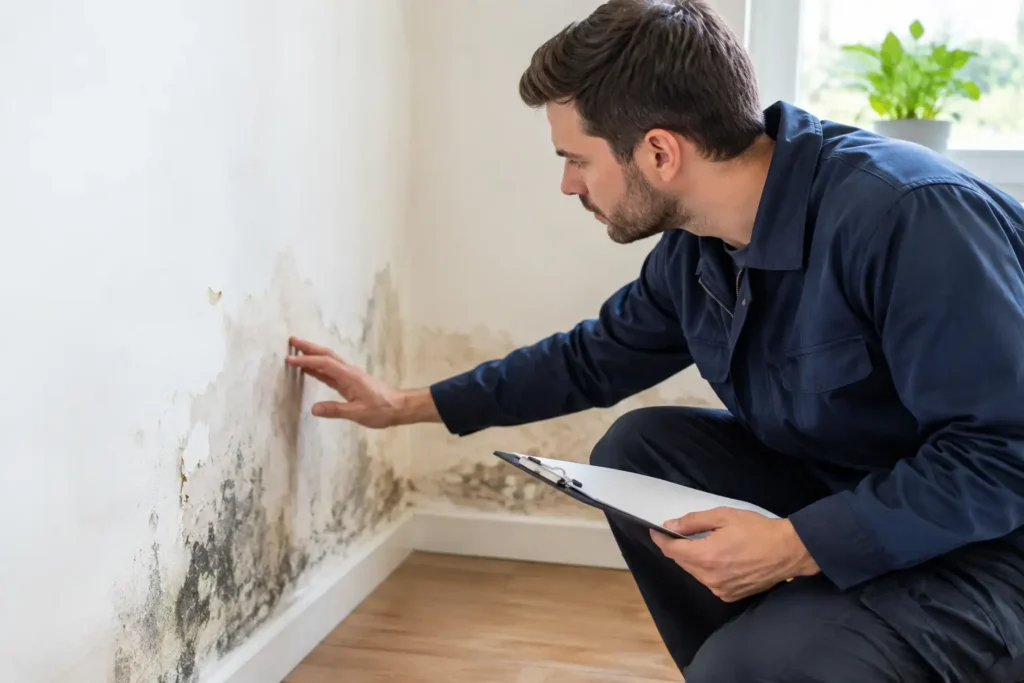
Work around each affected external wall and inspect from floor level upwards. Look for a tide mark, discoloured paint, blistering wallpaper, loose skirting boards or plaster that has become soft and crumbly. Rising damp commonly leaves damage up to around 1.5 metres above ground level, although the exact height depends on the wall, salts and evaporation conditions.
Use this practical check:
- Is the damage concentrated on ground-floor or basement-level external walls?
- Does the dampness begin near the floor and reduce higher up the wall?
- Are there white, powdery salt deposits, yellow-brown staining or flaking paint?
- Does the plaster sound hollow, feel friable or break away near the base of the wall?
- Are skirting boards stained, warped, rotten or separating from the wall?
- Is there a persistent musty or fungal smell, even after the room has been aired?
Take photographs before cleaning, repainting or moving furniture. Clear records help you see whether the affected area is growing and prevent surface improvements from hiding the pattern.
Check Whether the Pattern Really Fits Rising Damp
The shape of the damage matters. Condensation usually appears on cold surfaces, in corners, behind wardrobes and around window reveals. It may be worse in winter, after showers, cooking or drying washing indoors. It is often associated with surface mould, especially black spotting.
Rising damp is different. It tends to create a lower horizontal band of damage and carries ground salts into the wall. Those salts can continue drawing moisture from the air even after the original moisture source is reduced, so a wall may not look dry immediately.
A leak can also imitate damp. Check whether the patch is localised around a radiator pipe, washing machine connection, bathroom, roof valley or rainwater downpipe. If the mark becomes worse after rainfall, the problem may be penetrating damp rather than moisture rising from below.
A simple moisture metre can be useful for comparing readings across a wall, but it is not a final diagnosis by itself. Salt-contaminated plaster can produce high readings, and different building materials behave differently. Use readings as supporting evidence alongside the visual pattern and external checks.
Inspect Outside Before Treating Inside
Many damp problems are made worse by faults outside the building. Walk slowly around the affected elevation after dry weather and, if possible, again after rain. You are looking for any route that lets water sit against or enter the wall.
Check that gutters are not overflowing, joints are secure and downpipes discharge properly into a drain. A broken downpipe can saturate one section of masonry and create a very convincing damp patch indoors. Also inspect cracked render, damaged pointing, blocked air bricks and leaking external taps.
Pay particular attention to the ground level. Soil, paving, decking, paths or flower beds should not bridge the damp-proof course or cover low-level brickwork. If external ground has been built up against the wall, rainwater can bypass the original protection and hold moisture where it does not belong.
For suspended timber floors, make sure air bricks remain clear. Blocked ventilation can leave the sub-floor cold and damp, increasing the risk of timber decay as well as mouldy smells inside.
Check the Room Conditions
A damp wall and humid air can exist at the same time, but they need different responses. Record when the room feels dampest. Is it after bathing, cooking, sleeping or drying clothes? Are trickle vents closed? Is extractor ventilation working? Is furniture pressed tightly against a cold external wall?
These details matter because a dehumidifier removes water from the air, not the source of moisture travelling through masonry from the ground. It can make a room feel more comfortable and help manage condensation, but it does not stop genuine rising damp at its source.
Check the heating pattern too. A room that is heated briefly then left cold can encourage condensation on cooler wall surfaces. Consistent background heating and sensible ventilation may improve condensation symptoms, but they will not repair failed rainwater goods, high external ground levels or moisture movement within a wall.
Look for Damage That Needs Prompt Action
Some signs call for faster intervention. Timber skirtings that are soft, distorted or visibly decaying should be assessed before the damage spreads. Loose plaster can fall, particularly in older properties. Any electrical socket, cable or fitting affected by damp should be checked by a qualified electrician before use.
Mould should not be ignored either. Clean small areas safely once the moisture cause is being addressed, but do not simply paint over it. Repeated mould growth means the surface is still becoming damp enough to support it.
If you manage a block, shop, office or larger converted building, inspect adjoining rooms as well. Moisture does not always respect the layout of a tenancy or a single room. Mapping the affected walls helps establish whether you need local action or building-wide coverage.
Record What You Find
Your inspection is more useful when it is repeatable. Make a basic room-by-room record with the wall location, height of visible damage, moisture-metre readings if taken, outside observations and the date. Repeat it after heavy rain and after several weeks of normal occupation.
A changing pattern gives clues. Damage that worsens directly after rain points towards rainwater penetration. Damp that appears chiefly in cold weather and behind furniture suggests condensation. A recurring low-level band, salts and damaged plaster on ground-contact walls make rising damp more likely.
Older solid-wall properties can show more than one issue at once. For example, a wall may have rising damp at the base, condensation on a cold upper section and rainwater entering through defective pointing. Treating only the most obvious symptom can leave the building wet and the owner frustrated.
Choose the Next Step Based on the Cause
First correct obvious defects: leaking gutters, failed pointing, blocked drains, bridged damp-proof courses and poor ventilation. Then allow time for the wall to respond. Masonry does not dry overnight. The thicker the wall and the greater the salt contamination, the longer the drying process can take.
Where the inspection points to persistent rising damp, choose a solution designed to address moisture movement in the masonry rather than continually collecting moisture from the room air. GUARDIAN damp removal devices are intended to operate continuously, using a low-energy electrical field to counter the potential difference associated with moisture travelling upward from the soil. Correct model selection and central placement are essential, much like positioning a Wi-Fi router for the coverage you need.
Avoid replastering or redecorating too early. Applying new finishes to a wall that is still wet can trap damage behind a fresh surface. Once the moisture source is controlled and the wall has had time to dry, salt-damaged plaster and finishes can be repaired properly.
A careful inspection gives you something better than a guess. It shows whether you are dealing with air moisture, rainwater, a leak or moisture rising from the ground – and lets you act on the cause before a small low-level mark becomes a costly wall repair.