A damp device can only protect the area it is designed to cover when it is positioned correctly. If you are asking how to position damp devices, start with the building layout, not the worst-looking wall. Rising damp may show as peeling paint, salts, cold plaster and mould up to around 1.5 metres from ground level, but the moisture route can affect several rooms at once.
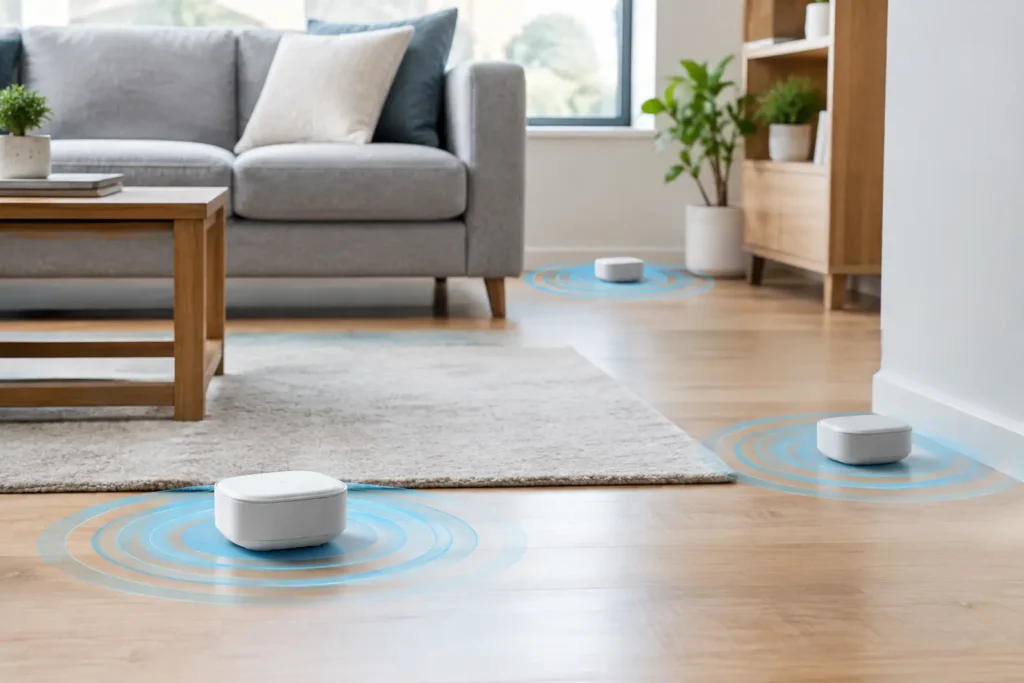
The aim is simple: place the device where it can work across the widest possible part of the property, while keeping it safe, powered and unobstructed. Think of its coverage in the same way as a Wi-Fi router. A central position usually reaches more of the building than a device hidden at one far end.
Confirm that rising damp is the problem
Correct positioning will not solve every type of moisture issue. Before choosing a location, look at the pattern of damage. Rising damp commonly begins low on ground-floor walls and may leave a tide mark, crumbling plaster, white salts or a musty smell. It is usually most visible on walls in contact with the ground.
A leaking gutter, broken pipe, penetrating rain or condensation needs its own repair. An air dehumidifier can reduce moisture in the air, but it does not address moisture travelling upwards through masonry from the ground. If the wall is wet from below, treat the source rather than continually drying the room air.
Choose the right coverage before positioning
The device must suit the size and layout of the building. A compact family house has different requirements from a large detached property, block of flats, shop or office. GUARDIAN HOME is intended for family houses, while PRO 15 and PRO 25 are designed for larger residential and commercial premises.
Check the coverage radius for the model you have selected, then consider the building footprint. Measure from the proposed installation point to the furthest affected ground-floor wall. Do not estimate from room to room alone. Internal walls, extensions, thick masonry and an irregular building shape can all influence how a central coverage area relates to the property.
If the building has a long, L-shaped or split-level layout, one central point may not be the practical answer. It may need a larger model or more than one device. This is preferable to placing one unit at an extreme end and hoping it reaches every affected area.
How to position damp devices in a house
For most homes, choose an internal wall on the ground floor that sits as close as possible to the centre of the building. A hallway, central reception room or ground-floor landing can be a strong choice because it often gives balanced coverage in several directions.
The best position is not necessarily in the room with the most visible damage. That wall may be on the outer edge of the property, where a device would have less effective reach across the rest of the house. Positioning centrally helps protect walls throughout the coverage area, including rooms where damp has not yet become obvious.
Mount the unit on a solid internal wall where it will remain undisturbed. Keep it clear of large metal objects, electrical cabinets and areas where it could be knocked by doors, furniture or stored items. Do not hide it behind a heavy bookcase or inside a cupboard simply to keep it out of sight. Easy access makes it simpler to check the power connection and indicator operation.
A useful rule is to stand over the centre of the ground-floor footprint and work out which practical wall is closest. That is usually the right starting point. Then check that the whole affected area falls within the model’s stated coverage.
Homes with a basement or elevated ground floor
Basements need careful thought because they are below or partly below external ground level. If the basement is part of the damp-affected structure, position the device at the level that gives the best coverage of the walls in contact with the ground. This may be the basement level rather than the floor above.
For an elevated ground floor, focus on the masonry walls and the level where moisture is entering from surrounding soil. A device placed in an upper bedroom is rarely the best solution for a ground-related damp problem. Keep the installation as close as practical to the relevant structure and within the model’s coverage range.
Positioning devices in larger properties
Larger buildings should be assessed as zones, not as one collection of rooms. In a pub, office, converted house, care setting or multi-unit property, identify the ground-contact walls, the central route through the footprint and any wings or extensions.
A PRO device should be located so its coverage is shared evenly across the main damp-risk area. A central corridor, plant-adjacent internal wall or main internal partition may be suitable, provided the device is accessible and away from unnecessary interference. Facilities managers should also consider who will be able to inspect the unit and confirm it remains powered.
Long buildings are a common exception. If one end is beyond the coverage radius, moving the device slightly towards that end may leave the opposite side unprotected. In that situation, review the model choice or use separate coverage zones. Correct sizing is more reliable than compromising the location.
Install safely and keep the device powered
Once you have chosen the location, mount the device securely in accordance with its installation instructions. Use a suitable indoor wall and proper fixings for the wall type. Avoid damp-prone sockets, damaged cables and locations exposed to direct water.
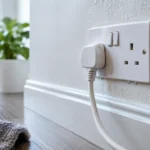
The device needs a continuous mains supply to operate. Choose a nearby socket that is reliable and does not require an extension lead across a walkway. Do not routinely switch it off to save a small amount of electricity. Rising damp is not a one-week problem, and continuous operation supports ongoing protection.
If you are unsure about the condition of a socket or the electrical installation, ask a qualified electrician. This is particularly sensible in older properties, basements and commercial buildings where electrical arrangements may be more complex.
Give walls time to dry
Device placement is only the start. Existing moisture in masonry does not disappear overnight. Once the cause of rising damp is addressed, the wall needs time to release stored moisture and dry naturally. The drying period depends on wall thickness, construction, ventilation, heating, existing saturation and external ground conditions.
You may see salts appear or loose paint and plaster become more obvious during drying. This does not automatically mean the device is failing. Salts already held in the wall can remain after moisture levels improve, and damaged finishes may need to be removed and renewed once the wall has dried sufficiently.
Keep rooms sensibly ventilated and heated where possible, but do not mistake a warmer room for a cured wall. Air dehumidifiers may help manage indoor humidity during the drying period, yet they are not a replacement for addressing rising damp at source.
Quick placement checks
Before finalising the installation, check four things: the device is on the correct level for the affected walls; it is as central as practical; the furthest damp-risk areas fall within its coverage; and it has a safe, permanent power supply.
If any answer is no, reposition it before fixing it permanently. A few minutes spent checking the building footprint can prevent months of uncertainty.
A properly positioned damp device should become the quiet part of your property maintenance plan: plugged in, protected from knocks and left to operate continuously while the building has the time it needs to dry.