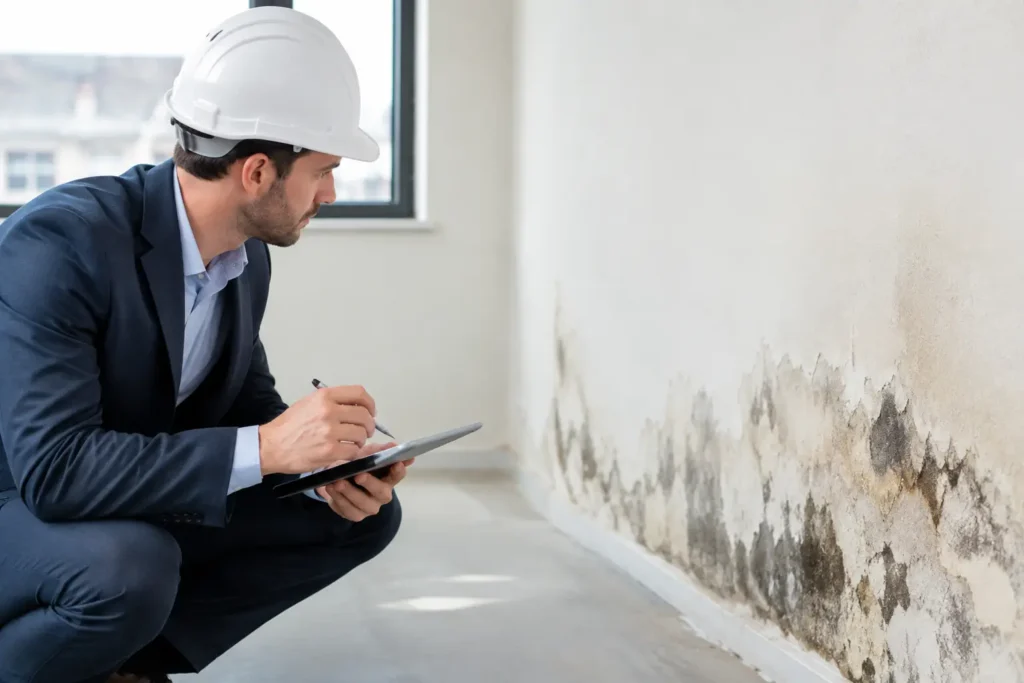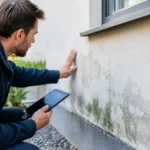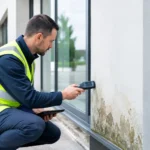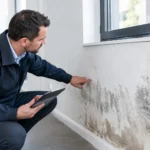
White, fluffy deposits on a wall are not just a decorating problem. They are salts left behind as moisture moves through masonry and evaporates at the surface. The best remedies for salt-damaged walls start by stopping that moisture movement. Paint, filler and a room dehumidifier may improve the appearance briefly, but they cannot remove the cause of active rising damp.
Salt damage is most often found on ground-floor walls, in basements and around areas up to roughly 1.5 metres above external ground level. You may also see peeling paint, blistered wallpaper, crumbling plaster, a cold wall surface or a musty smell. Treat the wall in the wrong order and the salts can quickly return through a new finish.
Why salts damage plaster and paint
Groundwater naturally contains dissolved mineral salts. When damp rises through porous brick, stone or mortar, it carries those salts with it. At the wall surface, water evaporates and the salts remain. This is called efflorescence when it appears as a white powder.
The more serious issue is what happens inside the plaster. Some salts attract moisture from the air, keeping the surface damp even after the original water source has reduced. Others crystallise within the wall and expand. That pressure breaks down plaster, paint and mortar over time.
This is why simply brushing off the white marks is not a permanent repair. It removes the visible evidence, not the moisture route feeding it.
Confirm the source before choosing a remedy
Salt deposits do not automatically mean rising damp. A leaking pipe, damaged guttering, high external ground levels, failed pointing or rain penetration can all introduce water into masonry. Condensation can also create mould and damp surfaces, although it does not usually produce the same tide marks and salt pattern as rising damp.
Look at the location and shape of the damage. Rising damp generally begins at floor level and rises in an uneven band. It is commonly limited to lower sections of internal walls. Damp patches high on an external wall, particularly after heavy rain, point more towards penetrating damp. Localised wetness around plumbing needs a leak check first.
A portable moisture meter can be useful as an indication, but it is not a complete diagnosis. Salts can affect readings, and a meter cannot tell you precisely where water entered the building. Check outside as well: blocked gutters, bridging debris, cracked render and soil piled against the wall must be corrected before internal repairs begin.
Best remedies for salt-damaged walls: do them in order
The effective sequence is simple: stop the water source, allow the masonry to dry, remove salt-contaminated finishes, then redecorate with suitable materials. Skipping the drying stage is where many repairs fail.
1. Stop rising damp at its source
If the pattern indicates rising damp, the priority is to prevent moisture travelling upwards from the ground. Air dehumidifiers can make a room feel drier and can help manage everyday humidity, but they do not stop water being drawn into wall masonry from below. They treat moisture in the air, not moisture rising through the wall.
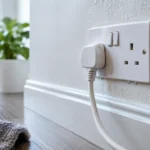
A source-control system is the practical first step. GUARDIAN damp removal is designed to address the electrical-potential difference that it identifies as allowing moisture to travel from soil into masonry, so existing wall moisture can return downwards through gravity. The device operates continuously with low energy use and avoids disruptive stripping-out work.
Choose coverage for the building, not just the worst-looking room. A family house needs a model sized for the whole property, while larger homes, blocks and commercial premises may need wider coverage or more than one unit. Positioning matters in the same way it does with a Wi-Fi router: central placement gives the best chance of reaching the affected masonry.
2. Remove the salt deposits safely
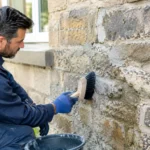
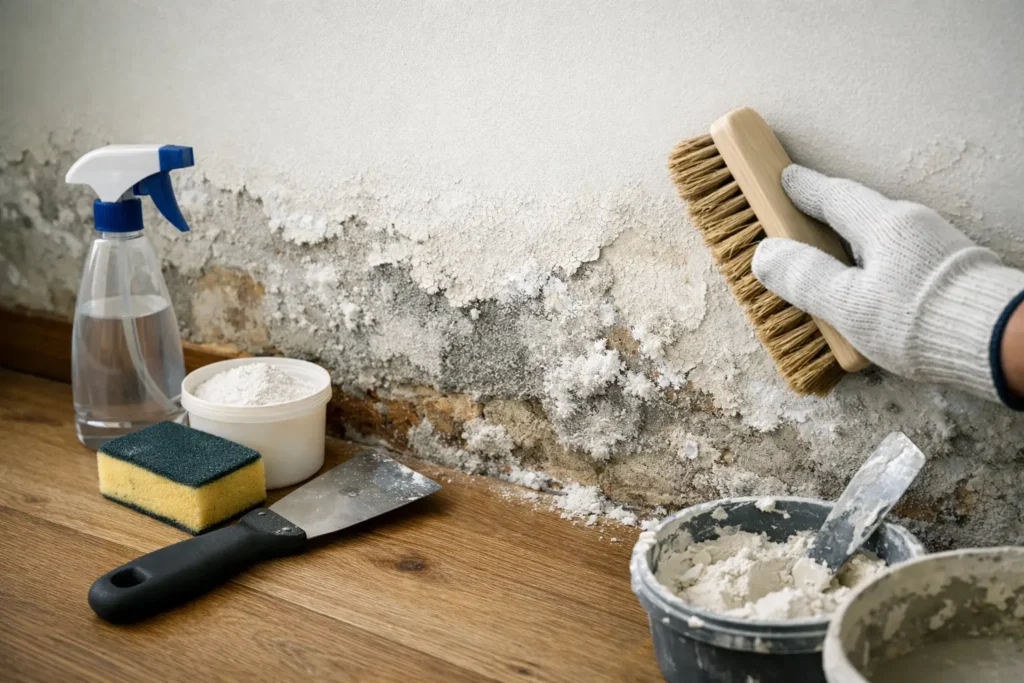
Once the moisture source is under control, dry-brush loose salt crystals from the wall using a stiff brush. Wear gloves, eye protection and a dust mask, particularly where the surface is heavily contaminated. Collect the debris rather than sweeping it across the floor, as salts can be irritating and may leave marks on finishes.
Do not soak the wall to wash salts away. Adding water can drive dissolved salts deeper into the masonry and delay drying. Avoid household bleach too. Bleach does not resolve salt contamination, and it is not a remedy for damp travelling through a wall.
If the wall is sound and deposits are light, brushing may be enough before the drying period. Where the plaster is soft, detached, bubbling or repeatedly stained, it has already been damaged and should be removed later as part of the repair.
3. Give the wall enough time to dry
Masonry dries slowly. A wall that has been wet for years will not become dry in a weekend, even after rising damp has been addressed. Drying times depend on wall thickness, construction, temperature, ventilation, the level of salt contamination and how much moisture was present.
Keep the room gently heated and ventilated. Open trickle vents where available and use normal background ventilation. A dehumidifier can assist with airborne humidity during the drying period, especially in a basement or poorly ventilated room, but do not mistake it for the main rising-damp remedy.
Resist the urge to repaint because the wall feels dry on the surface. Moisture and salts within the plaster can still push a new paint finish off the wall. Watch for stable moisture readings, no fresh tide marks and no returning salt crystals over time.
4. Strip damaged plaster back to sound masonry
Where salts have broken down the plaster, remove all loose, hollow or contaminated material. Take it back to firm masonry, usually beyond the visible tide mark, because salts can travel higher than the obvious damage. Bag the debris promptly and keep it away from clean finishes.
This stage is not always necessary. If plaster is hard, well bonded and shows only a small amount of surface efflorescence, removal may create unnecessary work. But plaster that crumbles under light pressure or has persistent staining is unlikely to provide a reliable base for decoration.
Check exposed brickwork and mortar joints while the wall is open. Repoint failed joints with a compatible mortar where needed. Do not seal a damp wall behind dense coatings or impermeable panels. Trapping moisture can move the problem elsewhere and cause further damage.
5. Replaster and decorate with breathable materials
Once the wall has dried sufficiently, use a salt-resistant renovation plaster or a suitable breathable plaster system for the building. Older solid-wall properties often benefit from lime-based materials because they allow moisture vapour to move through the wall rather than trapping it behind a hard finish.
The correct choice depends on the wall construction. Modern cavity walls, historic brickwork and stone cottages do not all need the same product. If you are uncertain, ask a plastering professional familiar with damp remediation rather than selecting a standard gypsum finish by default.
Finish with a breathable paint once the new plaster has cured. Avoid vinyl wallpaper and highly impermeable paint during the first stages after repair. These can hide early warning signs and are more likely to peel if residual moisture remains.
Mistakes that make salt damage return
The most expensive mistake is replastering before rising damp has been controlled. The new plaster can look excellent at first, then develop stains, blisters and powdery deposits as moisture continues to rise.
Another common mistake is lowering indoor humidity while ignoring the masonry. A dehumidifier has a place in managing condensation, laundry drying and humid rooms. It is not a replacement for dealing with groundwater entering a wall.
Also check the outside ground level. Soil, paving, decking or stored materials should not bridge the damp-proof course or sit against air bricks. Clear blocked gutters and downpipes, fix leaks and make sure rainwater drains away from the property. Rising damp and penetrating damp can exist together, so every water route matters.
When to call in help
Get professional advice if the wall is structurally cracked, timber floors show signs of decay, mould is extensive, or you cannot identify the source of moisture. Landlords and commercial property managers should act promptly where damp affects occupied rooms, as prolonged moisture can damage finishes and reduce comfort for tenants or staff.
For many properties, the repair itself is straightforward once the cause is controlled. Treat the wall patiently, keep an eye on changes at floor level, and let the masonry dry before asking fresh plaster and paint to do their job.