Fresh paint on a wall that is still drying rarely stays fresh for long. The real answer to when to redecorate after damp treatment is not a fixed number of weeks. It depends on the cause of the damp, how wet the masonry became and whether the wall is now genuinely drying from the inside out.
Rushing this stage is a costly mistake. Paint can blister, plaster can soften and white salt deposits can return through an otherwise tidy finish. Give the wall time, check it properly and redecorate with materials that do not trap remaining moisture.
When to redecorate after damp treatment
For a wall affected by rising damp, expect drying to take months rather than days. A useful working allowance is around 6 to 12 months, but this is not a promise or a deadline. Thick solid walls, old plaster, poor ventilation and a heavily saturated wall may take longer. A small area with only light staining may dry sooner.
The key point is that treatment must be dealing with the source of moisture before decoration begins. Rising damp can draw ground moisture up through masonry, often leaving damage, salts and a damp line up to around 1.5 metres from ground level. Painting over that pattern does not stop it.
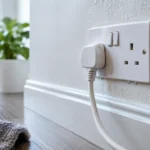
If a rising-damp solution has been installed, such as a correctly positioned GUARDIAN device, it should remain switched on continuously while the wall dries. The drying process is gradual. The wall needs time to release stored moisture back down through the masonry, not simply have its surface dried for a day or two.
Do not use the paint surface as your test
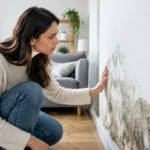
A wall can feel dry to the hand while moisture remains deeper in the plaster or brickwork. Equally, a wall can look patchy during drying because old salts are still moving to the surface. Neither sign alone tells you it is ready for paint.
Start with the original cause. Check that the problem was actually rising damp rather than a leaking gutter, damaged pointing, bridged damp-proof course, plumbing leak or condensation. These issues need their own repair. No damp treatment can compensate for rainwater entering through a defect in the building fabric.
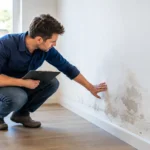
Then watch for change over time. A drying wall should become less cold and less visibly wet, with no spreading tide marks or new damp patches. Musty odours should reduce. If you are seeing fresh wetness after rain, or the damage is increasing above the usual rising-damp area, stop and investigate before decorating.
Why moisture meters need careful interpretation
A moisture meter can be useful for comparing readings in the same place over several weeks. It is less useful as a single pass-or-fail test. Salt-contaminated plaster can produce high readings even after moisture has reduced, because salts conduct electricity.
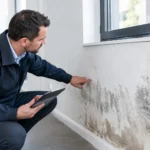
For a reliable decision, use a professional assessment where possible, particularly in a listed property, basement, rental property or commercial building. For landlords and property managers, recording photographs and readings before treatment, during drying and before redecoration also creates a sensible maintenance record.
Remove damaged finishes before they cause problems
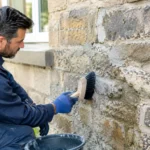
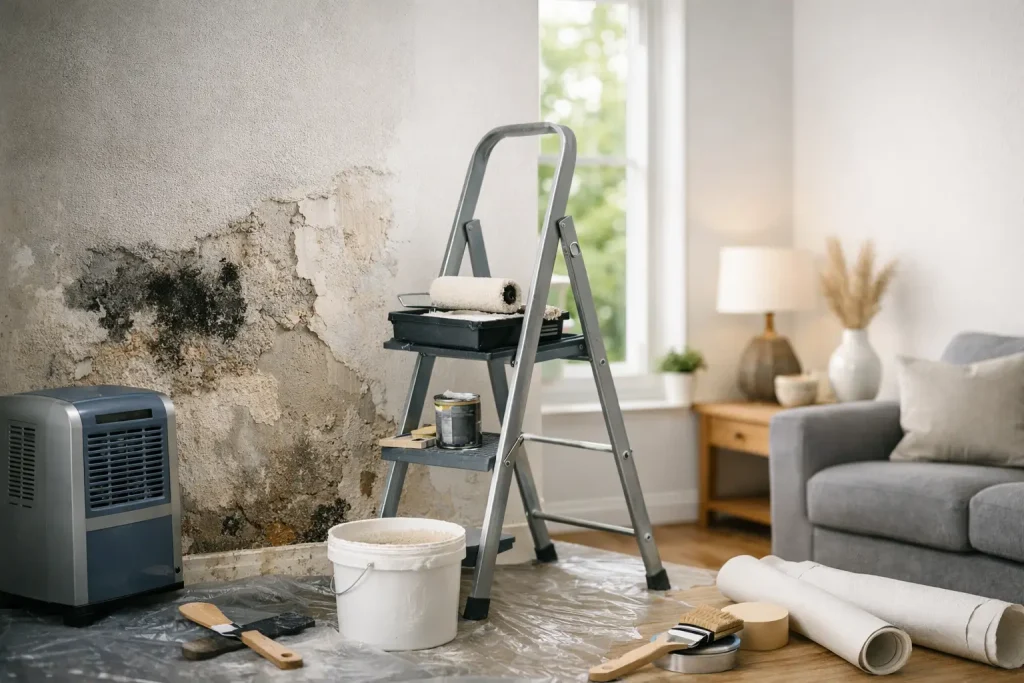
Decorating over loose, salt-laden or blown plaster is false economy. Scrape back flaking paint and remove wallpaper from the affected area. If plaster has crumbled, sounds hollow when tapped or remains heavily contaminated with salts, it may need to be taken back and renewed once the wall has dried sufficiently.
White powder or crystals on the wall are usually salts left behind as moisture evaporates. Brush them off dry with a stiff brush and vacuum the debris. Do not wash them into the wall. Wet cleaning adds more water and can carry salts into surrounding finishes.
Allow the cleaned surface to settle, then inspect it again. If salts quickly return, the wall may still be drying or there may be an ongoing moisture source. This is a signal to wait, not a reason to apply more paint.
Choose breathable materials for the first finish
The first decorative finish after damp treatment should let the wall breathe. Vapour-permeable paints, such as suitable mineral or clay-based systems, are often a better choice than thick vinyl paints. Breathable finishes allow residual moisture vapour to escape instead of trapping it behind a sealed coating.
Avoid heavy wallpaper, vinyl wall coverings and non-breathable paint systems until you are confident the wall is dry and stable. They may look good initially, but they can hide a returning problem and make later repairs more difficult.
If replastering is required, use a system appropriate for a wall recovering from damp and salt contamination. The right choice depends on the substrate and the extent of damage. Dense modern materials are not automatically the best answer for old solid-wall properties, where moisture movement needs to be considered carefully.
Prepare, prime and paint in the right order
Once the wall is dry enough and sound, make good small cracks and holes with compatible filler. Sand lightly, remove dust and use a primer recommended for the chosen paint and wall surface. Do not use a stain-blocking product as a substitute for drying time. Some specialist primers can help isolate old marks, but they cannot cure active damp.
Apply thin coats and allow each coat to dry fully. Keep the room normally ventilated and gently heated where needed. Do not blast the wall with intense heat, as rapid surface drying can leave moisture held deeper in the fabric.
Can a dehumidifier make redecoration happen sooner?
A dehumidifier can reduce moisture in the room air and make a space feel more comfortable. It may help manage condensation while a room dries. But it does not stop ground moisture travelling into a wall, repair a leaking pipe or fix defective external drainage.
That distinction matters. If the wall has rising damp, treating airborne humidity alone means you are managing a symptom rather than addressing the route of moisture. Use ventilation and sensible heating to support drying, but make sure the underlying issue has been correctly diagnosed and treated.
A practical check before you start decorating
Before opening the paint tin, confirm four things: the moisture source has been addressed, the affected area is no longer getting wetter, loose and salt-damaged finishes have been removed, and readings or professional checks show a consistent drying trend. Also check skirting boards, floor edges and nearby timber for damage. Damp walls often affect more than the visible patch above the skirting.
For larger properties, inspect several rooms rather than assuming one dry wall means the whole building is ready. Coverage, placement and drying conditions can differ between a ground-floor office, a basement store and a family living room.
Patience at this point protects the work you pay for. Wait until the wall is stable, use a breathable finish and keep the damp-management system operating as intended. A properly dried wall gives your new decoration a fair chance to last.