A proper electronic damp review starts below the wallpaper. If moisture, salts and damaged plaster are appearing on a ground-floor wall, the temptation is to buy a dehumidifier and dry the air. That may make the room feel better, but it does not automatically stop moisture entering masonry from the ground.
Electronic damp control is designed for a different job. It is intended for buildings affected by rising damp: moisture moving upwards through porous brick, stone or mortar from the soil beneath. For homeowners and property managers, the key question is not whether a device has a plug. It is whether the symptoms and building conditions point to rising damp in the first place.
What an electronic damp device is designed to do
An electronic damp device is a small unit fitted inside the building and left running continuously. It works by producing a low-level electrical field intended to counter the electrical-potential difference that contributes to ground moisture travelling into masonry. Think of the static charge that makes hair cling to a brush. The principle is different, but it helps explain why water movement in a wall is not simply a matter of “wet bricks”.
When the upward movement is stopped, the existing moisture in the wall can begin to return downwards through gravity. The wall then dries naturally over time. This is why electronic damp control is presented as a non-invasive alternative to cutting into walls for a physical damp-proof course.
It does not remove water from the air like a dehumidifier. It does not heat a room. And it will not repair a leaking roof, defective guttering or a cracked external render. Those distinctions matter. The right device can be a practical long-term answer to rising damp; the wrong diagnosis creates disappointment and leaves the real water source untreated.
Electronic damp review: check the signs first
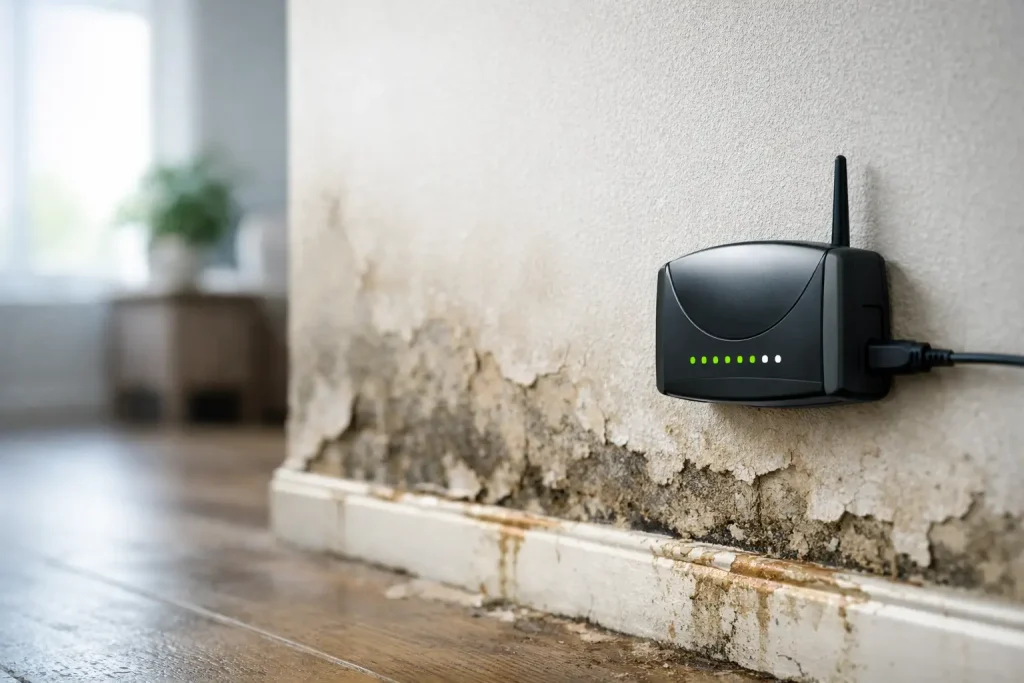
Rising damp usually begins at the base of a ground-floor wall and may climb to around 1.5 metres. Common signs include flaking paint, bubbling wallpaper, crumbling plaster, white salt deposits, a cold damp feel and a persistent musty smell. Skirting boards can decay, while walls near floor level may look worse than the same wall higher up.
These signs are useful, but none is proof on its own. Condensation can create mould in corners, behind furniture and around windows. Penetrating damp often follows a pattern linked to a roofline, chimney, gutter, downpipe, external crack or raised ground level. A plumbing leak can keep one local area wet regardless of the weather.
Before choosing electronic treatment, inspect the obvious sources of water. Gutters should discharge properly, downpipes should not leak at joints, and external ground should not bridge the damp-proof course. Check for broken drains, damaged pointing and internal plumbing faults. If a wall becomes wetter after heavy rain, deal with rain penetration first.
This is the corrective point many damp reviews miss: a dehumidifier is not a rising-damp cure, and an electronic device is not a cure for every damp wall. Diagnose the route moisture is taking before spending money on any solution.
Where electronic damp control makes sense
Electronic damp systems are most relevant where a property has persistent low-level moisture damage and the source appears to be moisture rising from the ground through the wall fabric. Older solid-wall homes, basements, ground-floor rooms and properties where disruptive building work is undesirable are common candidates.
They can also suit landlords and facilities teams managing several rooms or a larger building. Instead of managing condensation tubs, emptying dehumidifiers and repeatedly redecorating damaged walls, the aim is continuous protection at the source of the rising-damp problem.
The trade-off is patience. A wall that has held moisture for years will not dry in a weekend. Drying depends on wall thickness, construction, salt contamination, ventilation, heating and the amount of moisture already stored in the masonry. Surface finishes can also slow the process. Dense paint, vinyl wallpaper and waterproof coatings may need attention once the wall has stabilised.
Do not judge success solely by whether the wall looks different after a few days. Watch the pattern over months: fewer fresh damp marks at the base, a gradual reduction in coldness and moisture, and damaged finishes no longer deteriorating. Replastering or redecorating too early can trap moisture and waste money.
Choosing coverage for the building
Coverage is not an afterthought. Like a Wi-Fi router, an electronic damp device needs to be selected and positioned for the area it must serve. A small family house and a large commercial floor require different coverage and, in some buildings, more than one unit.
GUARDIAN damp removal offers a HOME model for family houses, with PRO 15 and PRO 25 units intended for larger residential or commercial premises. The model choice should follow the building footprint, layout and the location of affected walls, not simply the number of visible damp patches.
Thick internal walls, extensions, split-level layouts and large floorplates deserve extra thought. A device should be installed in a central position for the zone it needs to cover wherever practical. If the affected space extends beyond the rated coverage radius, a second unit may be the sensible option.
For a block of flats, converted property or commercial site, draw a simple floor plan first. Mark external walls, ground-contact walls, damp areas and potential installation points. This avoids placing one device at the far end of a building and expecting it to cover rooms outside its effective range.
Installation is simple, but placement matters
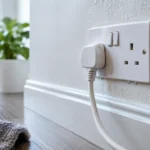
The appeal of a plug-in electronic system is straightforward installation. No wall channels, injected chemicals or major redecorating are required. However, “plug it in anywhere” is not a sound approach.
Fit the unit in the recommended central location and at the specified mounting height. Keep it connected continuously to a suitable mains supply. Avoid placing it where it could be knocked, covered by furniture, exposed to direct water or disconnected to free up a socket. Its low power use is part of the benefit, but continuous operation is essential for continuous protection.
Follow the supplied electrical and installation instructions exactly. In commercial premises, ensure the installation position is suitable for the building’s safety procedures and access requirements. If you are unsure about a socket, fixed wiring or moisture near electrical equipment, ask a qualified electrician rather than taking chances.
At the same time, keep the property sensibly ventilated and heated. Good ventilation helps indoor air moisture escape and supports a healthier room, even though it is not the mechanism that stops rising damp. Move large furniture a little away from affected walls so air can circulate while drying takes place.
What results should you reasonably expect?
The realistic expectation is gradual drying, not an instant cosmetic transformation. Existing salts may continue to show as the wall dries. Old plaster can remain damaged even after the underlying moisture movement has been addressed, and it may need replacement at the right stage.
This is where a careful review should be honest. Electronic damp control can be a highly practical route for correctly diagnosed rising damp, particularly when avoiding invasive work matters. It is not a substitute for fixing external defects, improving drainage or repairing a leak. It should form part of sensible property maintenance, not replace it.
Take dated photographs before installation, especially at the lower sections of affected walls. Note peeling finishes, salt marks and measured damp areas. Repeat the photographs at regular intervals rather than relying on memory. This is particularly useful for landlords and managers who need a clear record of the condition and progress.
If there is no improvement over a reasonable drying period, revisit the diagnosis. Check again for plumbing leaks, bridging, rain penetration, condensation and hidden defects. Damp is often made worse by more than one cause, especially in older properties.
A dry, sound wall starts with the right cause, the right coverage and the right placement. Once those are in place, leave the device working and give the masonry the time it needs to recover.